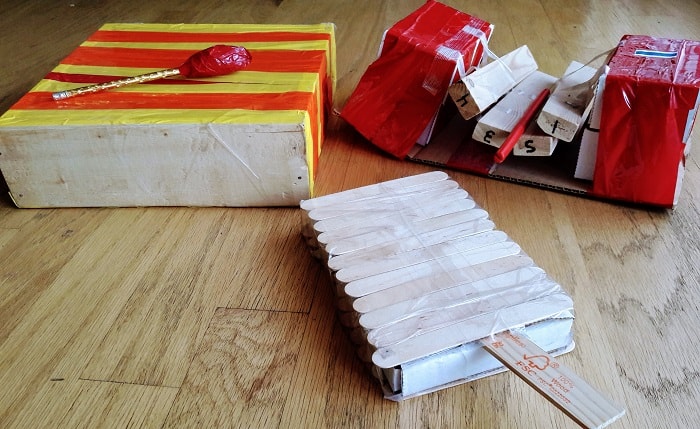
Companion to the 13 Week Unplugged Project-Based Guide
There are more than 30 projects in this page. These projects and ideas along with the instructions and pictures can be printed out and handed to the kids. Some of the following projects and activities can be done independently and some may need more guidance.
Either way, kids are supposed to “own” the projects. In other words, whether the end result is uneven or imperfect, it’s theirs to do and complete.
There can always be a second, and third, and fourth time…
As the parent, the biggest challenge is to create a sort of arsenal of material and supplies which range from recycled materials, like paper towel rolls, to a sewing machine. Most of the materials however, can be found at the dollar store or you may have around the house.
Though will see Amazon links to some books or products, this is to make your life easier, but I would recommend, when at all possible BUY LOCAL.
Some of the must have supplies however are: a glue gun and glue sticks, acrylic paints, masking tape.
Ceramics
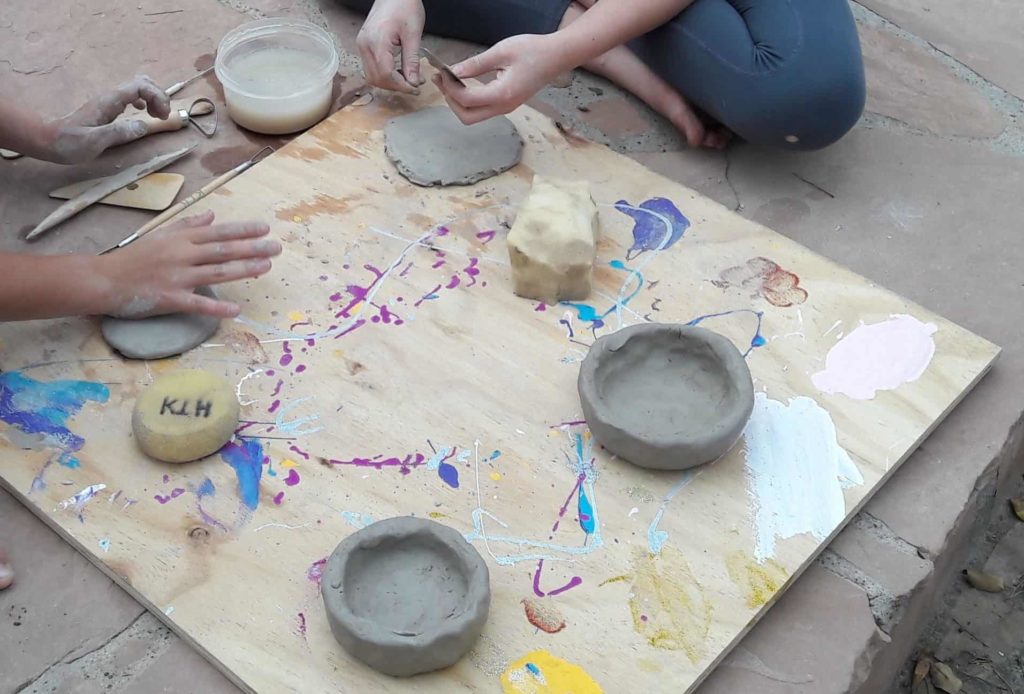
All you need is a “cone of clay” that will last a long time. Pieces that don’t turn out can be recycled. Your local Art supply store can order it if they don’t carry it. Buy the cheapest kind since it’s for hand modeling not for wheel throwing. There is a nice little modeling tool kit that comes in handy. It includes special tools to help mold features into the clay, a sponge and a wire used to cut cleanly through the clay.
See pic for technique and tools. Another technique is to make several coils of clay and stack them up until you have a bowl or container, smooth down with your fingers, polish with your wet sponge. Done.
My mom used to keep a bucket of clay, always slightly wet for us to practice modeling. As a result I got really good at modeling. She kept it in one of the covered balconies and we did all our creations at the kitchen table.
We made dolls, mice, cats…
True -ideally your kids would be in your awesome local community center, taking a Ceramics class at the fully outfitted studio complete with kiln and throwing wheels, BUT. We can always practice those skills at home and have fun with clay. It may not be as hard and archival as if it was fired, but we can still paint it. Just don’t leave it where it can get wet!
Note: always keep the bag of clay closed so it doesn’t dry up. You can add a bit of water to it to keep it soft.
Paint a Solar System (from Natural Science for 8 – 10 year olds)
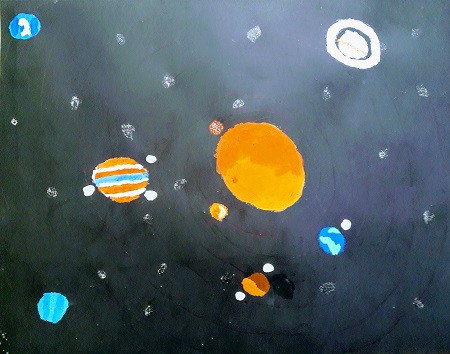
Point out the order of the planets per their proximity to the Sun. See Natural Science Guide for more background and fun activities, songs, and fun facts about planets.
Make a 3D Solar System or Mobile
Dollar Store or Amazon usually sells two or three size foam balls. Dollar store also carries a three dimensional wreath that can be used as the orbit or you can use wire.
The hardware store has these thin steel rods that can be cut with wire cutters. This is your project, be creative. You need is paint, thread, an a larger sphere for the Sun.
Create Your Own String Art
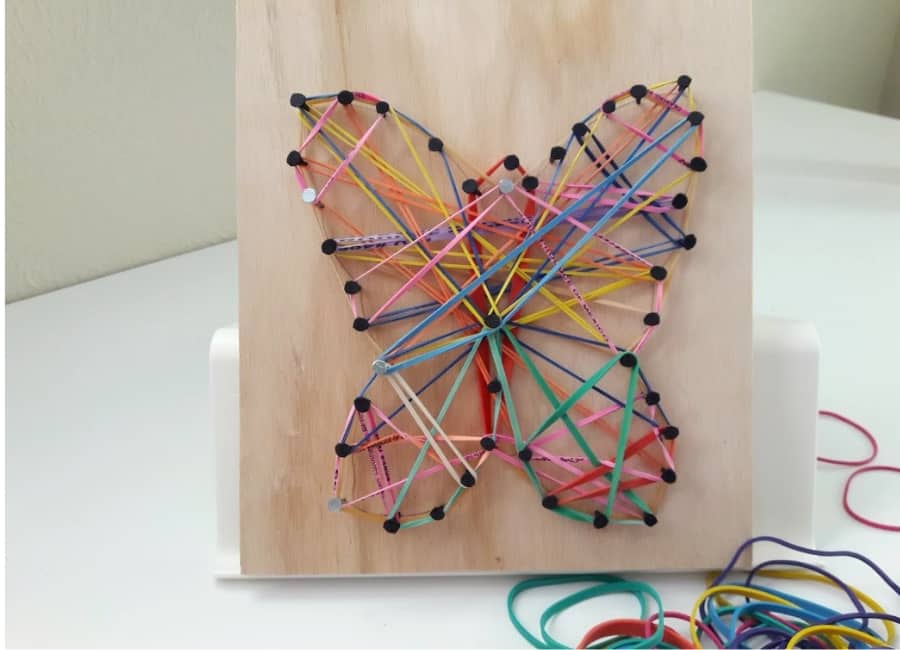
Wood, nails and a hammer is all you need to spend the time! Find some colorful thread or rubber bands. A flat piece of wood. Wire nails or concrete nails. Draw something you think would look nice. Hammer the nails along the drawing 1/2 inch apart, and choose any way you like to connect the dots! Have fun with it.
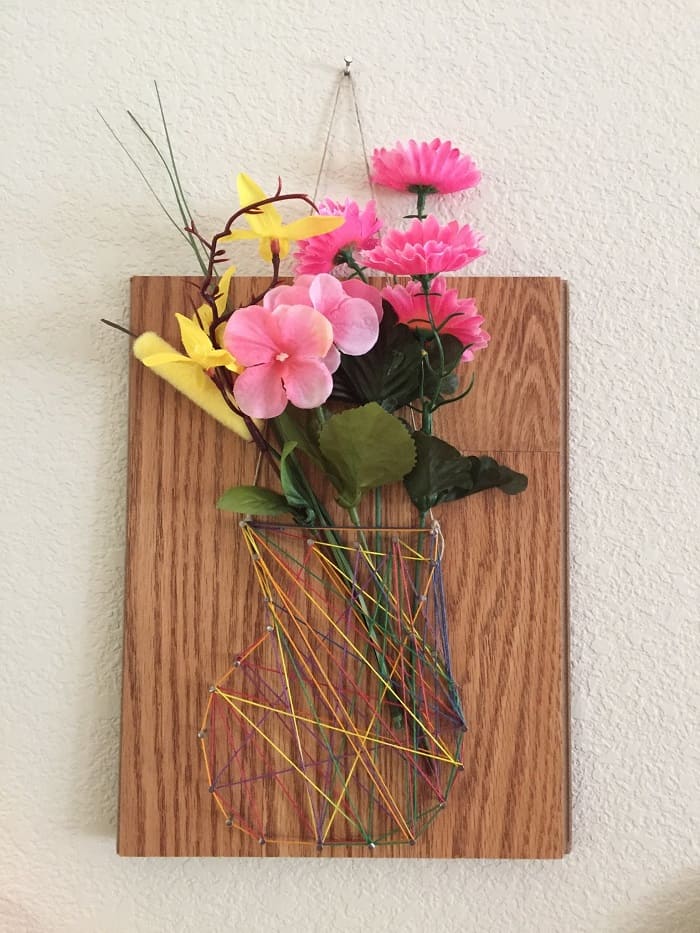
Awesome Craft Sticks Puzzle and Games
Paint a beautiful landscape with acrylic paint. Or draw and outline a drawing with marker. We like to each do one and then give it to the next person to assemble.
We have also put all the sticks from everyone’s painting mixed in and tried to assemble. That is more challenging.
We have also made these coloring puzzles as kits for friends.
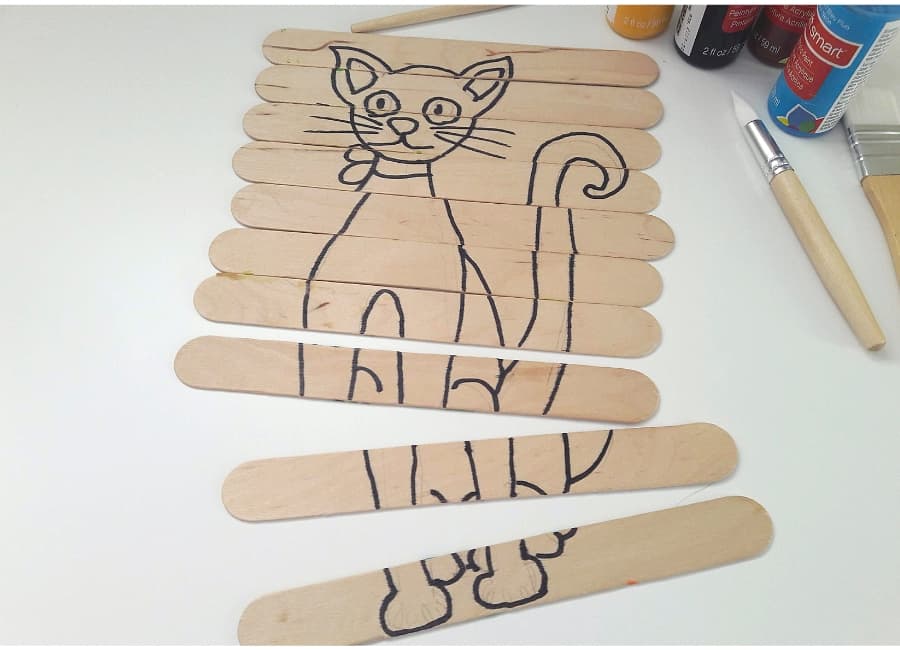
I like to use the jumbo craft sticks. You’ll need acrylic paint, and contact paper to set the sticks so they don’t move around while you paint. It is tricky to set the sticks lined up and close together. This is a project, so take your time!
Make Robots
Yes. I know. Your kids know all about this already. With their STEAM classes and their LEGOS, etc. Make a challenge. What can your robot do? What problmem can it solve? Maybe it’s just cute.
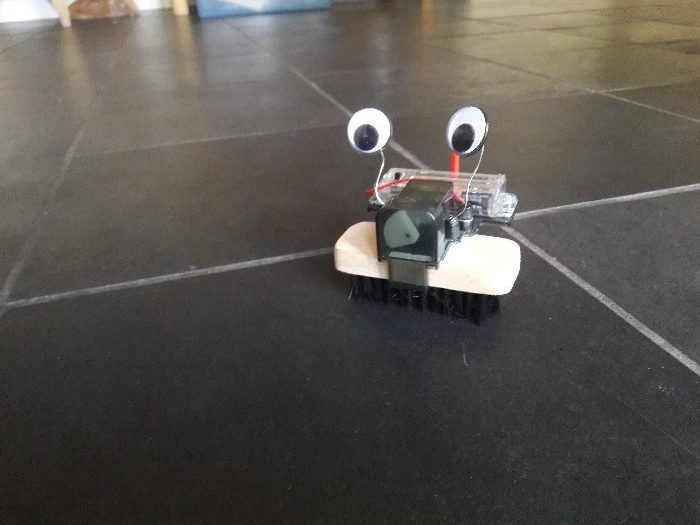
Please scroll to the bottom of the page for a great book on Awesome Robotic Projects.
Wine Charms for Mom or Dad
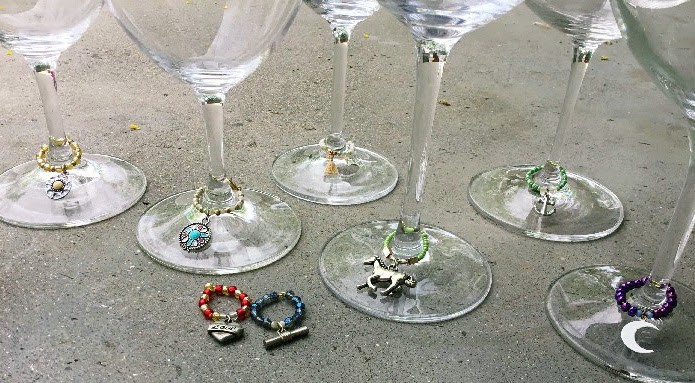
These are beautiful gits for mom or dad. Our daughter made these for her dad who is a wine enthusiast. But I think moms would love these, too.
All it is needed is beading supplies: small pliers to bend wire and cut wire, 18 gauge or thinner stainless steel wire, or nickle free wire, and beads…charms…
The Business and Entrepreneurship Project
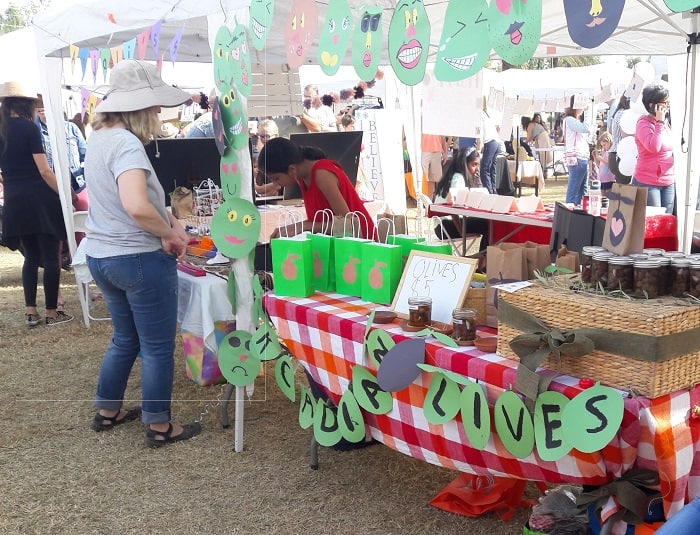
Whether you can do a stand on at the driveway or in front of your building, or you want to sell to your family members and friends, you will need to plan what is needed and make a business plan. I suggest to keep a notebook for this. Jot down different ideas if you want. Make your logo. Make sure you write down your expenses (supplies, materials, cost of doing business) and your Sales. Figure how much someone would pay or how much you want to charge for your product. But most importantly: it is not a business if it isn’t profitable so make sure you figure out your profit margin before you begin producing. In other words, from the price subtract your expenses. If you borrow money for your business that is a loan and it needs to be payed back. For details see Hot to Help Kids Learn Entrepreneurship.
Designing and Building Chain Reaction Machines
Make a chain reaction kit with pvc or plastic pipe pieces cut in 4 to 10 inch tubes (they can probably do this for you at the hardware store). Pick up some small wood pieces, a set of dominoes, marbles or rubber balls, cardboard, and string. Let the child find more elements if needed.
This can be done on the floor, the table, or the wall. Or it can go over different surfaces.
This can be a great competition idea. Whoever has the most elements of reaction in their chain and if it works perfectly wins a price or certificate of awesomeness.
Design and build an obstacle course
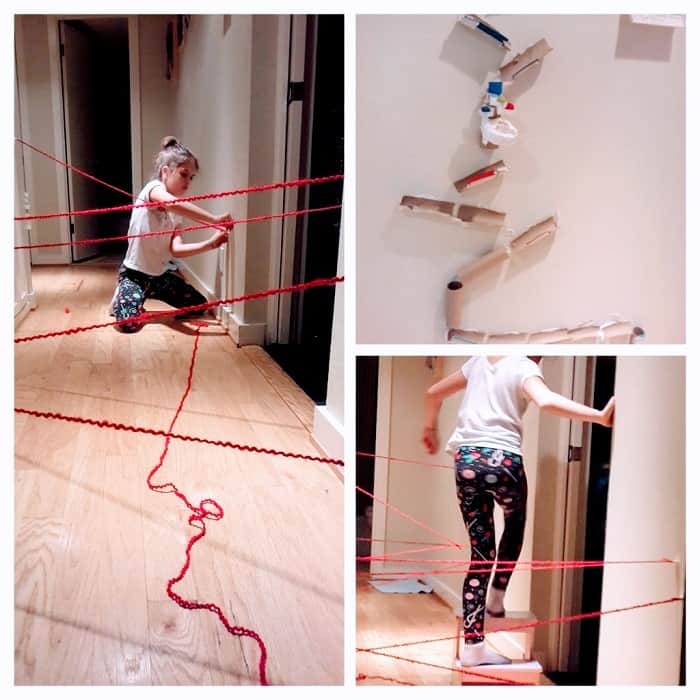
Materials: Anything you have handy! We save papers towels rolls land cut them up in different ways. We use small pieces of wood, string, magnetic balls, felt balls, double sided tape, dominoes, buckets, yards, masking tape, packing bubble wrap and foam, bits of hose, pieces of pvc tubes, etc.
Making and Throwing Spears
Materials: Dowels, cardboard to make the fins, glue or string to fasten the fins. Knife to shape spear into a point.
Design a Building with Foam Board
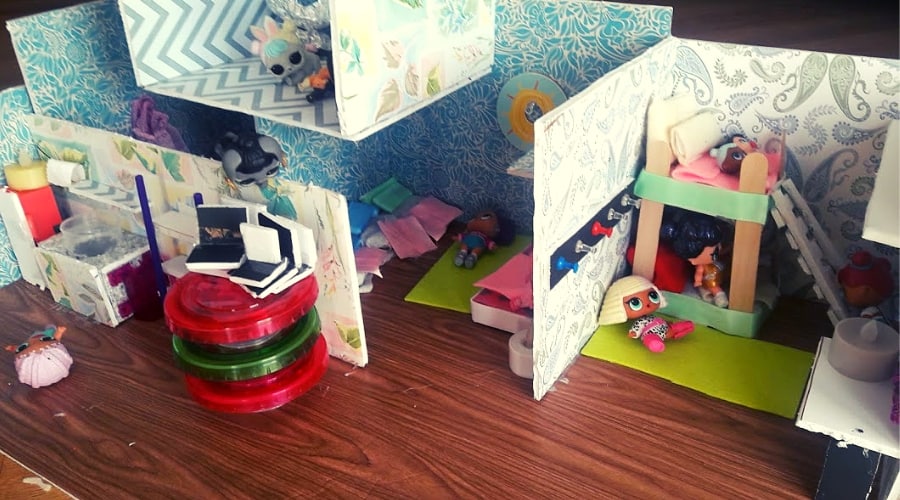
Materials: foam board, small wire nails (for joining pieces of foam board). Tape, double sided tape, hot glue gun (optional).
We have used pattern contact paper in the past to decorate the walls and floor of a house. See below.
Make Dream Catchers
This project is beautiful. We did this as a group park activity when the kids were little. But you can imagine how creative and beautiful this project could be with a little more dexterity than what you see below.
The supplies are simple. An embroidery circle. Once you take the circle apart to make your dream-catcher, you will have two circles. So you can make 2 dreamcatchers for each embroidery loop.
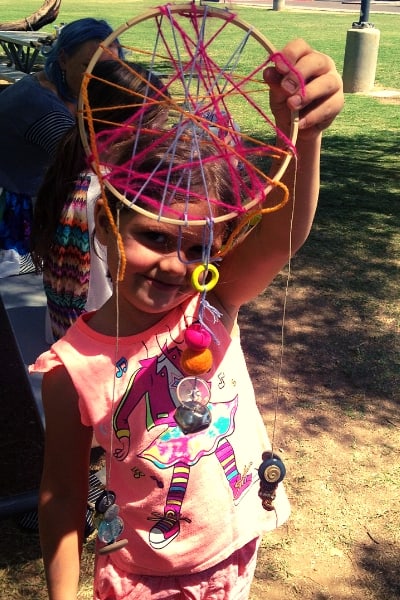
You will also need yarn or string. Chose the colors and consistency you like.
Some of our friends used something special to hang from the dreacatcher or even weave though. My daughter wanted to make hew own charms with buttons and beads.
Make a Mobile
Use your embroidery loop and make small notches along the edge where string will be hanging. We made a mobile with suffed animals, one of them sings a song if you pressed its tummy.
We made another one that natural wool roving birds.
The European Continent Challenge
This is a Cha-Ching $$ Challenge worth $10 in our family. For this Challenge you need an Atlas or map of Europe or a globe with the countries in Europe clearly marked. It’s up to you how you learn it. Make sure you get very acquainted with the layout of this continent. The shape of the countries, the seas, what countries are next to what other countries, the capital cities, the language they speak, where is the Prime Meridian, etc. You will need to answer all the questions! It should take you at least a week maybe two weeks to be sure you get the full price.
Geography through music
This is an article that I am currently working on. It is based on the amazing Musical Adventure series of workshops at the Musical Instrument Museum. We were fortunate to assist to this kids’ class where the museum coordinator took the kids on a journey to different parts of the world via her knowledge of these countries music cultures and the exhibits at the museum. Then they make their own instruments from those countries.
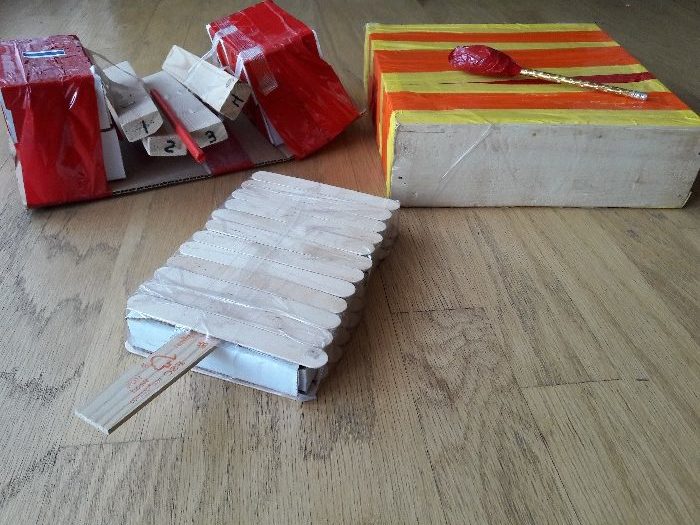
I can’t recommend enough this amazing place. If you are ever in Scottsdale make sure you visit the Musical Instrument Museum.
Make Your Own Flag
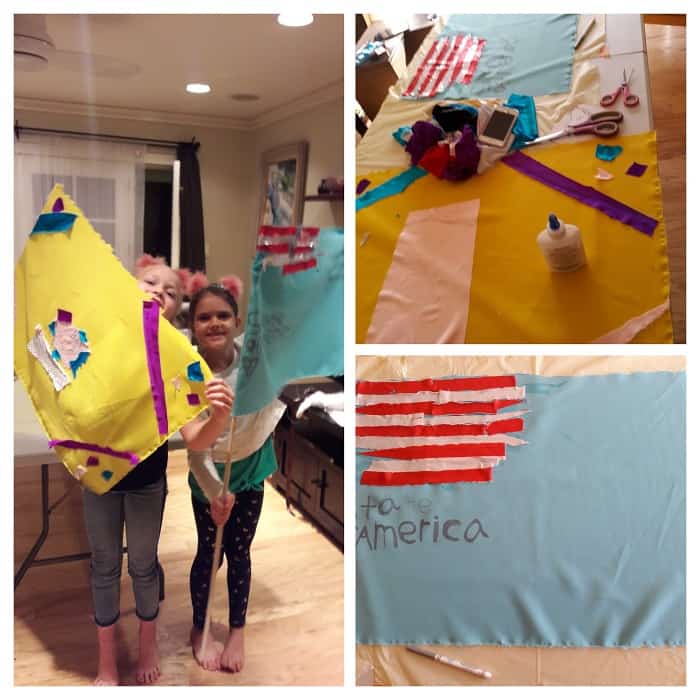
If you could have your own flag, What would it look like? Chose your colors, design it, and make it.
Cooking challenge: the yummiest salad
See post about Unschooling Cooking and Playing With Food.
Cooking challenge: snack bars
See ingredients in Unschooling Cooking -Kids Play with Your Food!
Cooking challenge: pizza
Make pizza from scratch: each person can make a pizza for two. 2 cups of warm water (1/2 hot and 1/2 cold), one tablespoon of activated yeast, 1/2 teaspoon of sugar. Let sit for 10 to 15 minutes or until the Yeast becomes active and foamy. Add one tablespoon of olive oil. Mix in 1 cup of flour, and one teaspoon of salt. Mix and Kneed. Kneed on a counter until soft and stretchy. Leave in a bowl covered with a cloth for 30 minutes. Come back and see how big it has become! Preheat oven to 350. Choose your toppings. Roll out the dough like a pizza. Bake for 5 minutes before you put on the toppings. Take it out and lay out your toppings. Bake until done, about 10 minutes.
We had three people and we each made a Pizza. We chose our toppings and we all tested them said which pizza turned out best.
Sorry, we ate them before I could take pictures. I put anchovies, fresh tomatoes, olives, olive oil, and cream cheeses on mine. Others put salami, Parmesan, pizza sauce, etc. on theirs. Delicious!
Serve pizzas and cut in 4 pieces. Show 1/4, 3/4 and 1/2. Cut in more pieces show 1/8…
Cooking challenge: the best cookies
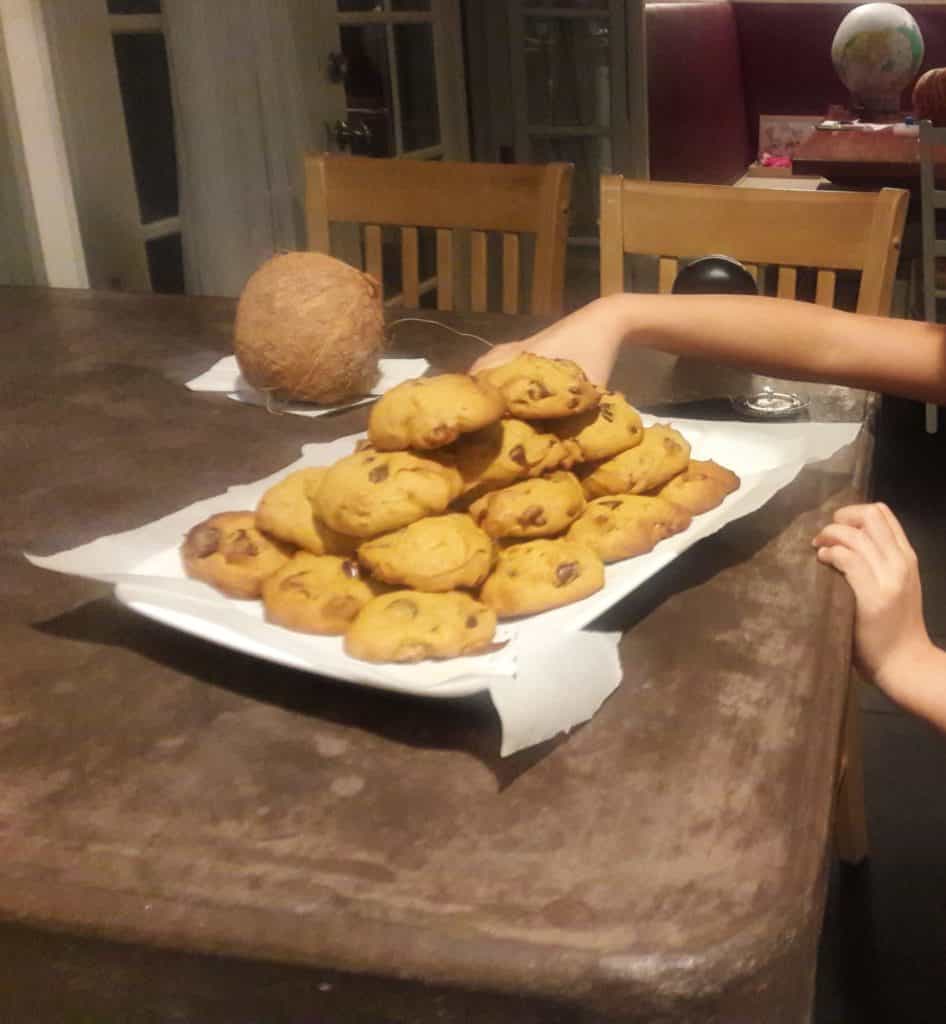
We use chocolate chips a lot! But, kids like to experiment by mixing the dough with pumpkin pure. This makes delicious pumpkin chocolate chip cookies. We follow the recipe on the back of the chocolate chip cookie bar. We’ve experimented with oatmeal and sneaker doodles. The recipes and combinations are endless so let your kids look it up and follow the recipe.
Like any other project: make a list of what you need. Gather supplies, follow the instructions if it’s a recipe (making up baking recipes is fun, but not always good to eat after!)
Design and make bow and arrows and catapults
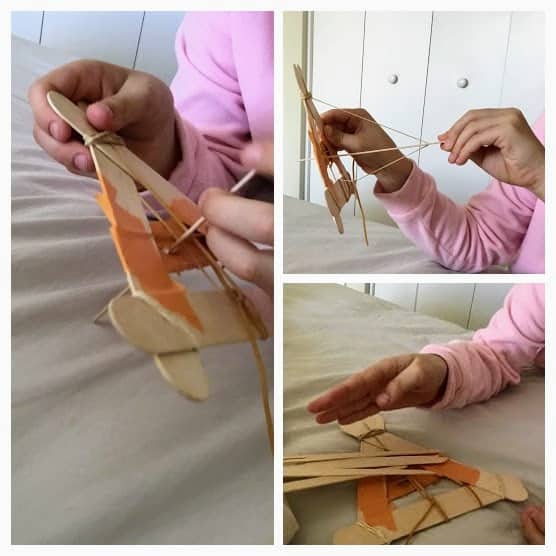
Advent Calendar
Any excuse for a calendar full of pranks, surprises, treats, and fortune telling.
Any supplies go! We’ve used small paper cups. Used Nespresso pods, egg cartons, etc. We cover the with tissue, or glue them upside down with stuff inside. Mark them with the numbers of the month, or how long to my birthday, etc.
We often give it to each other for extra surprise element.
Party poppers (any excuse for a party)
Supplies: Paper towel rolls cut in half, confetti, balloons, tape, tissue paper and some colorful paper to decorate.
Cut the top of the balloon so it can fit over one of the paper towel ends. Fasten with tape and tie a knot at the end of the balloon.
Fill the tube with confetti. We use little Pom-poms and small candy as well to make it more festive.
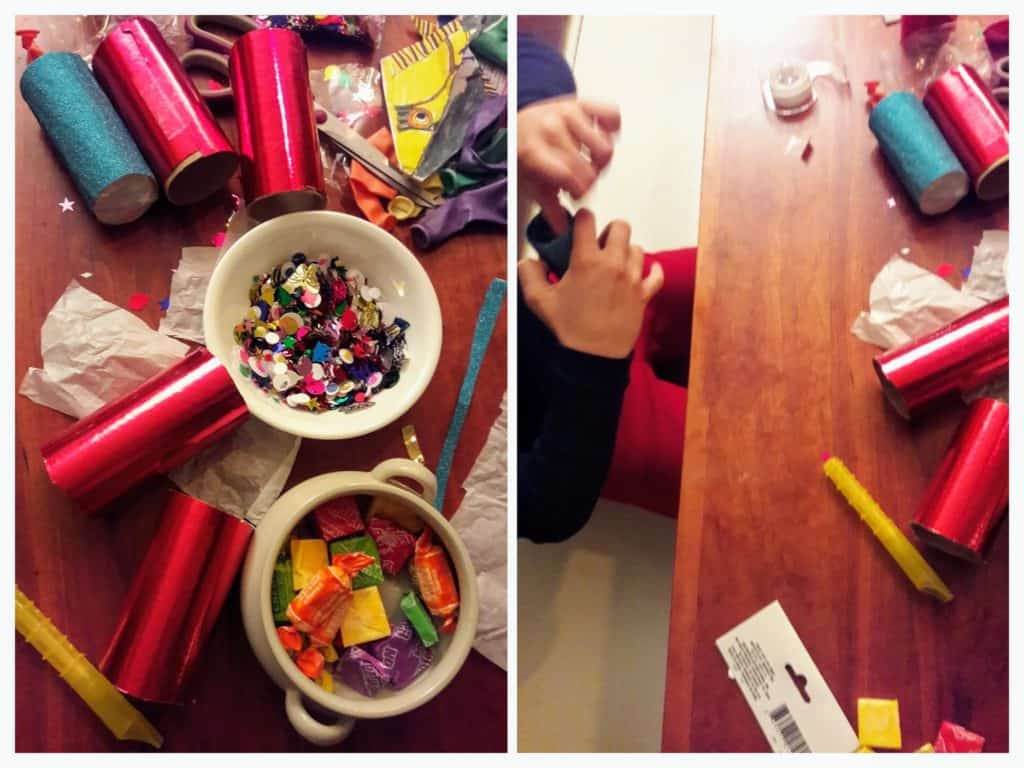
Cover the open end of the tube with a thin tissue. You can use a little tape a the edges or a rubber band.
We like to cover them in festive paper.
The way they work is that you hold the tube with one hand and pull on the balloon like in the Pom-Pom sling shot. When you let go the stuff inside breaks through the tissue and pops out.
PomPom Sling Shot
Same concept as the Party Poppers but more simple. Youll only need the lager size pompoms, paper towel roll, and the balloon.
Fathers Day gift making
Or just gift making.
Check out these tasteful ideas for Father’s Day home made gifts that kids can make.
Make Ice Cream in a Zip-lock Bag
Coming soon.
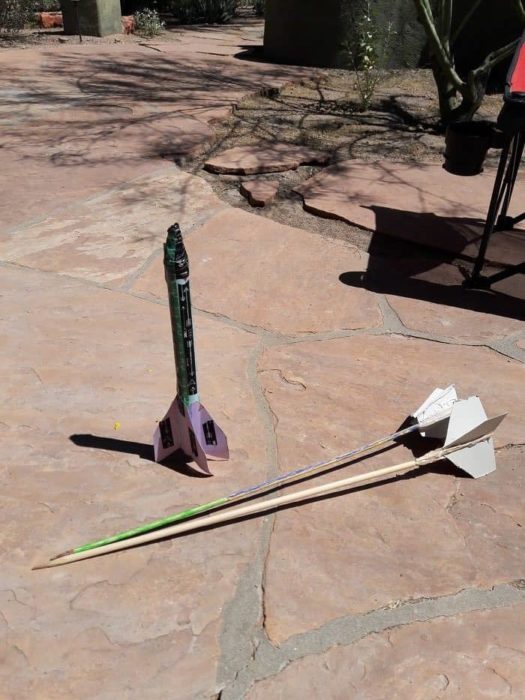
Making and Launching Rockets
Materials: paper to roll into a cylinder and form the rockets. Wasi tape for fastening and decorating. Thin cardboard to shape the fins and cut out. See below to experiment with different tiles of fin shapes and arrangements.
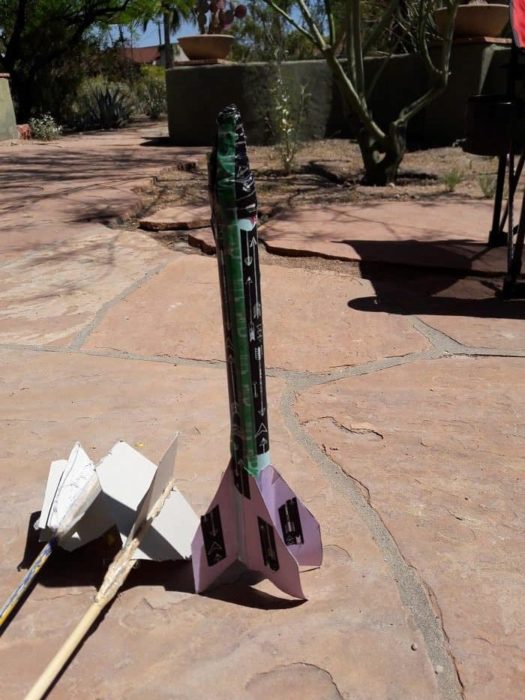
PVC tubes and connectors to build the rocket launcher and an empty 1.5 liter plastic bottle.
Here is a good tutorial:
Sewing -I love the projects in this book:
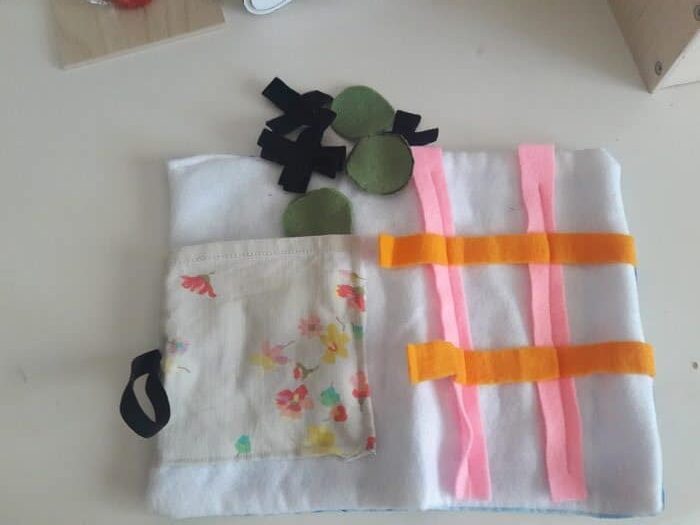
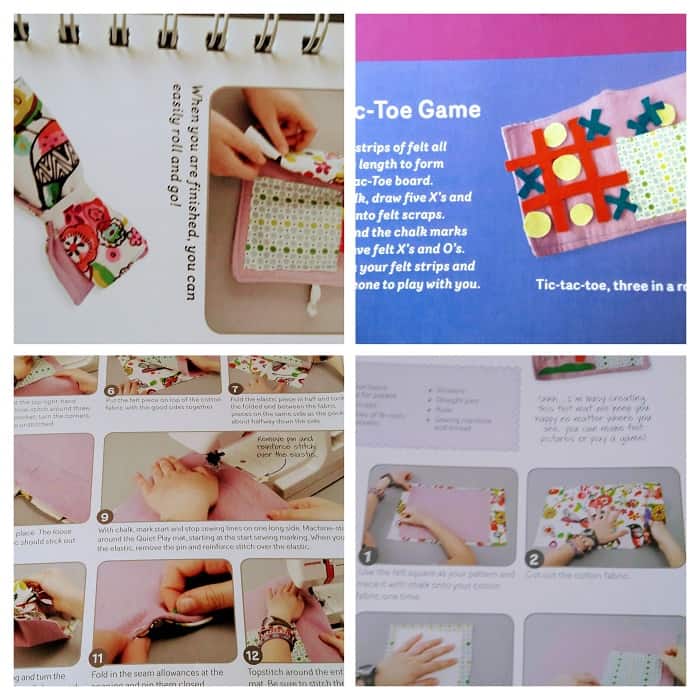
I got my first sewing machine last Christmas so I was as new at this as my 9 year old. The book above served us both because I was able to hit the road running making simple but fun projects. And I could even help my 9 year old with her projects. Although she is so much more fearless than me and has made really fun stuff. Like tons of scrunchies (not in the book).
The Tic-Tac_toe Project was challenging for her but it was very attractive because it’s one of her favorite games. We made this one.
Valentines
We can make valentines any time. When they are home-made they’re just another way to tell someone in our family or our neighbors that we care and are thinking about them.
We enjoy making these origami pocket hearts and filling them with a little note, little cut out hearts and a candy or surprise. Making a batch of these is a real project. There are tutorials online but once they get the hang of it there is not need to refer back to the tutorial.
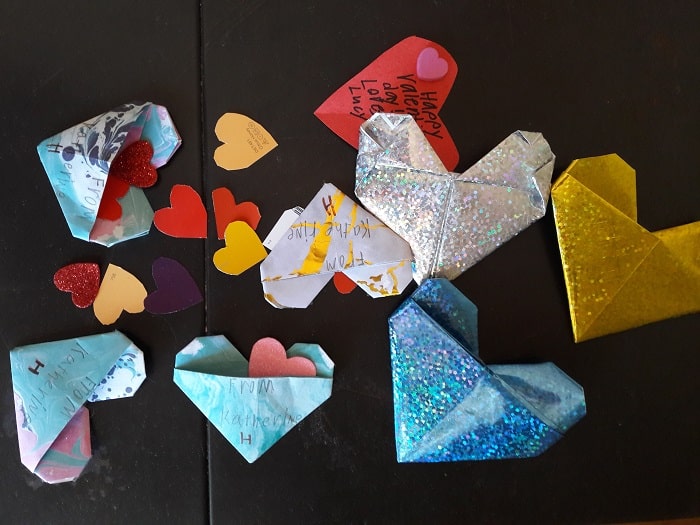
Making origami is an engaging and fun activity. My daughter really got into origami from taking a workshop where she learned to make: Fortune tellers (these are super fun for kids), French fries, flying cranes, and pocket hearts.
There are so many fun things kids like to make. This is a great way to introduce geometry, by the way. We can talk about quadrilateral triangles, different types of angles that come up every time you fold, etc.
The Winter Solstice Party: Lesson 6 of Free The Natural Science Guide
Invite friends to a Winter Solstice Party Of Snacks, Crafts and Winter Celebration
Start off with a fun Sun Catcher Planet Craft
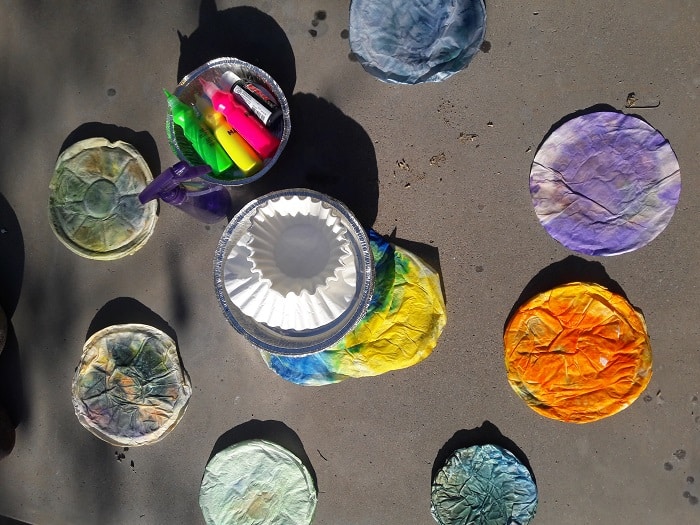
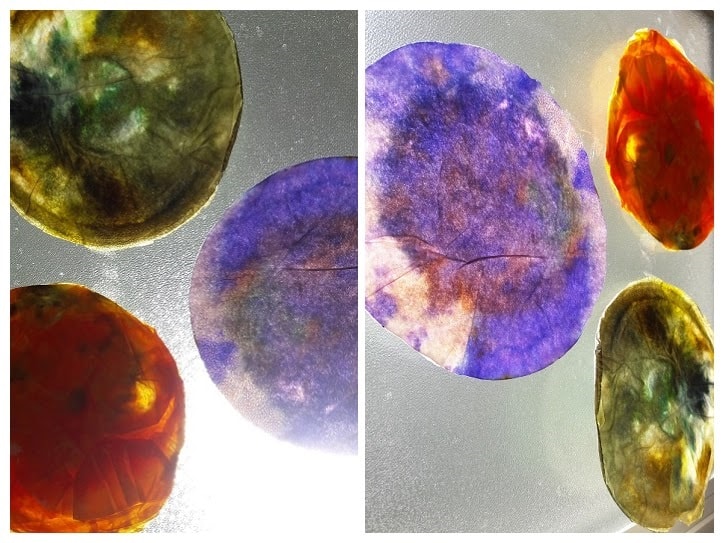
Ask them to talk about stars, and if they know any planets. Ask which planets they know about (they probably know more than you!)
Today we are going to think about planets.
Who knows what are planets? (Gather all kinds of answers).
The one we are going to think about today is Earth. Why is Earth special? (Gather all kinds of answers).
Earth also spins all the time. It spins on it’s Axis. Not only that but at the same time…And it goes around the sun!
Explain that the Winter Solstice marks the shortest day of the year and the longest night of the year. But after today, the days will start getting a little longer everyday.
That is what we celebrate today. The shortest day of the year!
Talk about the Northern and Southern Hemispheres.
Sit in a circle and pass the globe around, stop when is winter solstice.
Make some Crafts: Sun and Earth connected by a ruler or flat piece of wood, with metal fasteners. Paint the Earth on a paper plate. Paint the Sun on another paper plate.
We also like to make a candle that kids can take home.
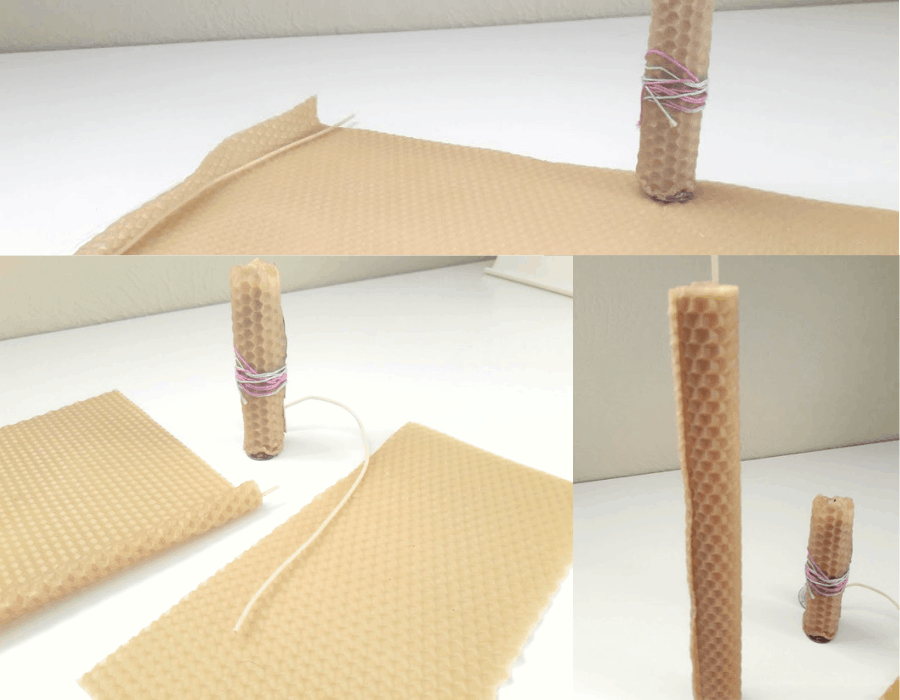
You can have this party or a slight variation every year and make it a tradition. Aim at your child taking on the part of explaining to other kids how the Earth orbits and shows the tilt of the Earth correctly.
More Craft and Projects ideas fun for all ages here
And for other more outdoor oriented kind of activities please see Meaningful Activities
Our family blog, Living With Aloe has tons of information and resources for making good for you stuff with Aloe Vera.
Coming Soon:
Magnet Planters made with used wine corks
A Green Wall – For Indoor Gardeners
Air Plant Hanging Mobile
